
 DoseCraft
 VapeHeatLab
Carrot Bong Bowl DIY — 5 Steps for an Emergency Pipe
This carrot bong bowl DIY hack sounds wild — but it actually works. The scenario: your bowl breaks and you need a replacement right now. Solution: a fat carrot, a 5mm drill bit, and a knife. No dispensary, no hardware store — just a carrot from the fridge and 10 minutes of focused work. Fordee ...
This carrot bong bowl DIY hack sounds wild — but it actually works. The scenario: your bowl breaks and you need a replacement right now. Solution: a fat carrot, a 5mm drill bit, and a knife. No dispensary, no hardware store — just a carrot from the fridge and 10 minutes of focused work. Fordee tested this emergency bong bowl hack live on camera so you can see exactly how it’s done.
Carrot Bong Bowl DIY — What You Need
Before starting this carrot bong bowl DIY, gather these three things:
- 1 fat carrot — non-negotiable. A thin carrot won’t have enough material. You need a chunky one, roughly the length of your drill bit.
- A 5mm wood drill bit — slightly smaller or larger works, but 5mm is the sweet spot for most bong downstems. This carrot bowl tutorial relies on matching the drill bit length to the carrot.
- A sharp knife — for carving the bowl end. This is the trickiest part of the carrot bong bowl DIY, so work carefully.
Carrot Bong Bowl DIY Step by Step
- Cut the carrot to length. The carrot length should roughly match your drill bit. Make the cut flat and level — any angle will cause the drill hole to veer off-center. Use the thicker end for the bowl.
- Drill through the carrot. Start from the narrow end and drill straight through lengthwise. Go slowly and keep the carrot stable. Work over a trash can — carrot debris goes everywhere. Blow through the hole to clear any bits. This DIY carrot pipe for bong depends on a clean, straight air channel.
- Expose the air channel with your knife. If the drill didn’t exit cleanly, whittle away a little carrot from the exit point until the hole is clear. A clean air path is essential for this carrot bowl tutorial.
- Carve the bowl. On the wider end of the carrot, use the knife to carve out a small bowl-shaped cavity. Cut a rough square first, then taper the corners so the base narrows — this creates a tight seal with your downstem. Don’t cut too close to the edges or the walls will be too thin.
- Test fit and load. Push the tapered end into your bong’s downstem. It should seal. If loose, carve slightly more taper. Load herb into the carved bowl and use a regular lighter — not a torch. You now know how to smoke without a bowl by making one yourself.
Carrot Bong Bowl DIY Tips From Fordee’s Testing
- Use a lighter, not a torch. A torch makes things fly around and overheats the carrot. A standard lighter gives controlled, even heat that works perfectly with this emergency bong bowl hack.
- No carrot flavor. Despite what you’d expect, the carrot doesn’t impart any noticeable flavor. You won’t taste vegetables — just your herb.
- Make it fresh and use it same day. A carrot bowl won’t keep overnight. This is a one-session fix, not a permanent piece.
- Keep the peel on. Fordee found that peeling the carrot made carving harder. Leave the peel on for structural integrity.
- Fat carrots only. A thin carrot won’t give you enough wall thickness around the drilled hole. If your only carrot is skinny, this carrot bong bowl DIY won’t work.
Frequently Asked Questions
Is a carrot bong bowl DIY safe to smoke from?
What size drill bit do I need?
Does the carrot bowl taste like carrot?
What bong was used in this video?
References
Where to Buy
- To pick up a Chill Steel Pipe visitaffiliate
- If you would like to purchase a POT by Noids (Direct Link)affiliate5% with code herbistry420
- Cannabis Apparel Store
Some links above are affiliate links. We may earn a commission at no extra cost to you.
Related Posts
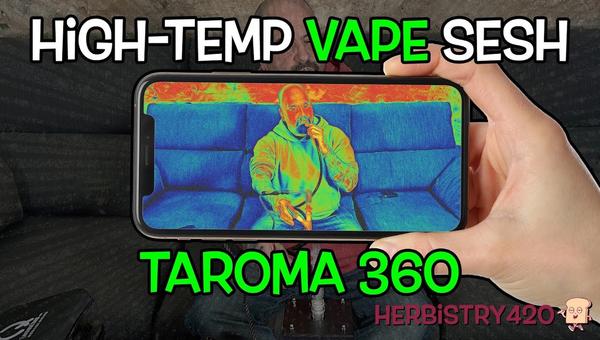
Taroma 360 High Temp: 5 Tips for an Insane Rosin Vape Sesh
If you're ready to push the boundaries of concentrate consumption, taroma 360 high temp vaping is the ultimate experience for seasoned users. In this session, I fire up the Taroma 360 Hybrid Ball Vape at a scorching 440°F with a 15-second heat soak for massive, flavor-packed clouds — and then I take it to the ...
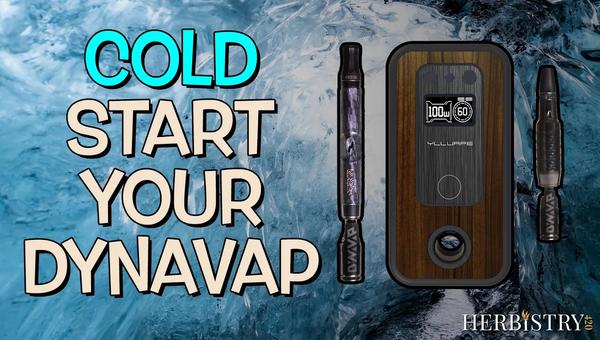
How to Cold Start a DynaVap with the IH3.0 (Pre-Click Hit Technique)
The DynaVap cold start technique uses an induction heater to keep feeding heat into the cap while you draw, starting a few seconds before the first click. Works with any DynaVap and any IH. Bigger extractions, denser vapor, and a real-time lesson in reading what your DynaVap is actually doing.
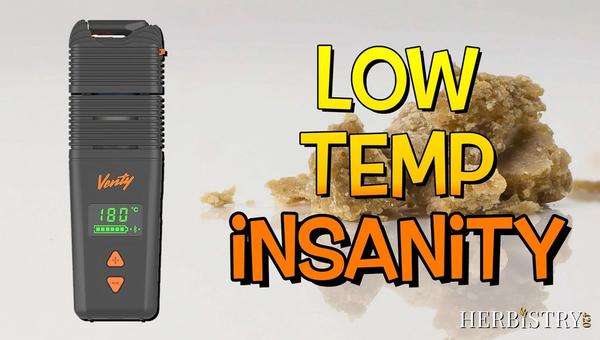
Venty Concentrate Hack: How to Vape Crumble at Low Temp Using Cotton Bacon
Hands-on Venty concentrate hack: wrap crumble in cotton bacon, run a low-temp session, and turn a dry herb vape into a smooth low-temp concentrate rig. Here's exactly how the convection airflow makes it work.