Building the Perfect Sesh Setup on a Budget
Most session gear is overpriced for what it actually does. Here is what is worth spending on, what is not, and how to put together a setup that works on a tight budget.
Most of the gear in this hobby is overpriced for what it actually does. The pieces that matter are the ones that touch your product. Everything else can be basic. So let's go through what to spend on, what to skip, and how to put together a setup that works without dropping a paycheck on it.
The Essentials Everyone Needs
A reliable torch or lighter. This is the one place we never go bottom-shelf. Cheap butane torches with flimsy igniters are the biggest frustration in this hobby, you'll be flicking it forty times while your concentrate slides off the tool. Spend a little more here.
A timer. Consistent heating times give you consistent sessions, and once you find what works on your device, you want to repeat it every time. Our Sesh Timer does this for free, with customizable heat and cool-down phases, music built in, and themed backgrounds if you want to feel cinematic about it.
A silicone dab mat. Costs a few bucks, protects your table, keeps your tools where you can see them, and turns cleanup into a thirty-second job. Not glamorous, but absolutely worth it.
Iso alcohol and cotton swabs. Cheapest maintenance gear in the kit, keeps everything tasting clean. Skip these and your sessions start tasting like the last three sessions stacked on top of each other.
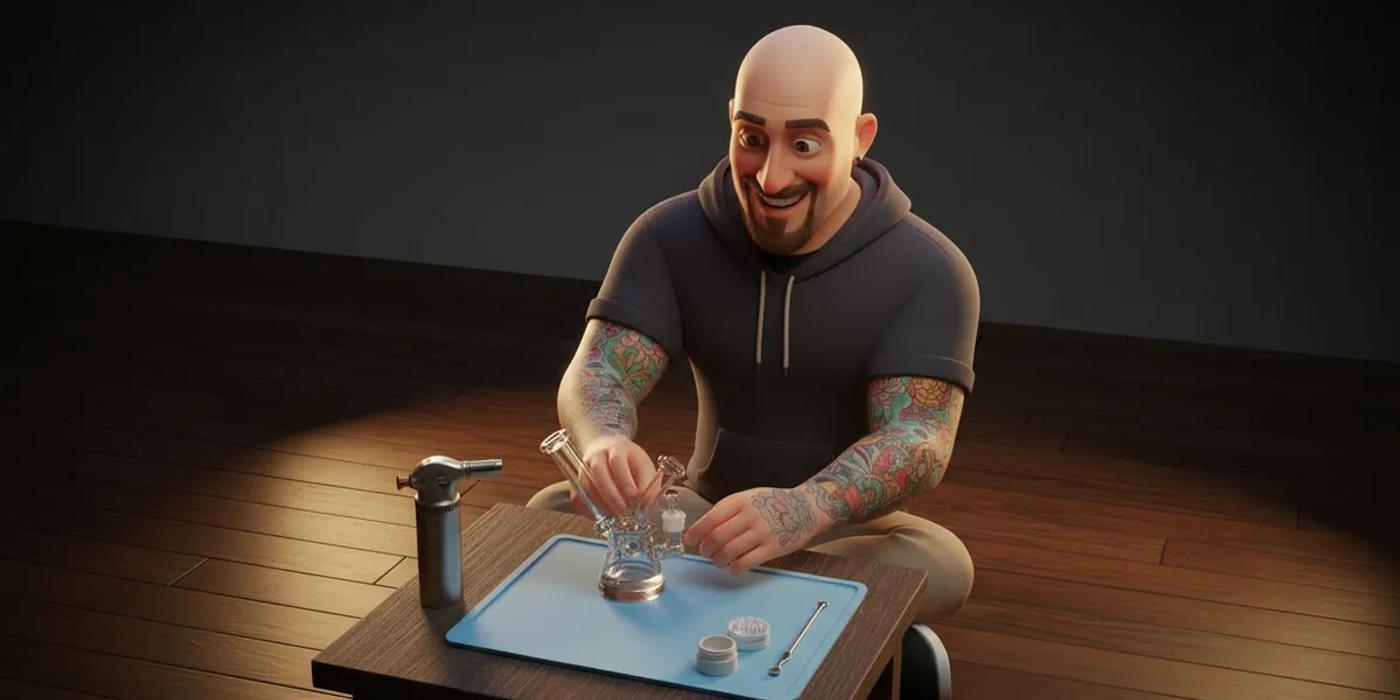
Dab Setup on a Budget
Dabs have a reputation for being expensive, and to be fair, you absolutely can spend a thousand dollars on a fancy rig. We are not doing that. Here is the priority order for a starter setup that actually works.
Priority 1: The Banger
This is where your money matters most. A quality quartz banger ($15 to $25) heats evenly, holds temperature, and lasts as long as you can be bothered to clean it. The no-name cheapies have uneven walls that create hot spots, which means parts of your dab burn while other parts barely vape. Worth the extra ten bucks.
Priority 2: The Rig
A small, simple glass rig ($20 to $40) is all we need. Smaller rigs hold the flavour better for concentrates, and you don't have to drag a yard of glass around to take a hit. Skip the percolators, the recyclers, the artisan honeycomb whatever. Those are upgrades for when you have the basics dialed in.
Priority 3: Accessories
Carb cap ($5 to $10): controls airflow over the banger, which lets you dab at lower temperatures and pull better flavour.
Dab tool ($3 to $8): a simple metal or glass tool. Don't get fancy, you are going to coat it in rosin every session anyway.
Torch ($15 to $25): medium-sized butane torch. Tiny kitchen torches don't get hot enough, oversized plumbing torches will heat your banger too fast and crack it. Middle ground.
Total for a solid starter kit: $60 to $100. Plenty of room to upgrade later, none of it bottlenecks the experience now.
Torch Vape Setup on a Budget
Torch-powered vapes like the DynaVap are already among the cheapest entry points into vaping. The setup is way simpler too:
The vape itself ($35 to $69 for an entry-level DynaVap or similar).
A single-flame torch lighter ($8 to $15). Single-flame gives you the most control over where the heat actually goes. Triple flames look cool, but they are overkill for a tip the size of a thumbnail.
A small storage tube or case for transport. Once you have a vape that fits in your pocket, you'll bring it everywhere, and a half-decent case keeps the tip protected.
Use our Sesh Timer to dial in consistent heat times. With a torch vape, your timing is your temperature, find what works for your device and repeat it every session.
Quality of Life Upgrades (When Budget Allows)
Once the basics are dialed in, these are the upgrades that punch above their price:
A proper storage solution. A small lockable case or sealed jar keeps your flower fresh and your gear organized. Light and air kill cannabinoids over time, and nobody wants stale weed.
A second banger or bowl. With two, you can soak one in iso while using the other, which means you actually clean them on schedule instead of when they look like a crime scene.
Better butane. Refined butane burns cleaner, extends the life of your torch, and tastes like nothing, which is exactly what we want it to taste like.
A debowler or ash tray for flower setups. Small thing, but it changes how relaxed the session feels. Not having to fight with a clogged bowl mid-session is a quality-of-life win.
The Bottom Line
Spend your money on the parts that touch your product. The banger, the vape tip, the heating element. Everything else can be basic. A $70 setup with a great banger will smoke a $200 setup with a cheap one every time. Start minimal, upgrade the pieces that matter, and let your technique carry the rest. That is the whole game.
Frequently Asked Questions
What is the minimum I need for a dab setup?
Is a cheap dab rig worth it?
What accessories actually make a difference?
References
- Fordee (2026). Herbistry420 YouTube Channel. YouTube
Related Posts
 Lifestyle
Sant Jordi in Barcelona: The Day of Books and Roses
April 23 is Sant Jordi in Catalonia, the day Barcelona becomes an open-air bookstore and flower market. The story behind the tradition, how it eventually landed on the anniversary of Shakespeare and Cervantes, and the aromatic compound roses quietly share with cannabis.
 Lifestyle
Barcelona Cannabis Culture: A Visitor's Honest Guide
An honest look at Barcelona's cannabis culture from someone who lives there. How clubs work, what to expect, the legal grey area, and etiquette tips.