Custom Chocolate Mold DIY Part 2: Easy Silicone Pour Guide
Welcome to custom chocolate mold diy part 2 — the episode where we mix the silicone, build the acetate box, pour it over our blank, cure it for 24 hours, and test the finished mold with infused cannabis chocolate. If you have not printed and sealed your blank yet, start with Custom Chocolate Mold DIY ...
Welcome to custom chocolate mold diy part 2 — the episode where we mix the silicone, build the acetate box, pour it over our blank, cure it for 24 hours, and test the finished mold with infused cannabis chocolate. If you have not printed and sealed your blank yet, start with Custom Chocolate Mold DIY Part 1 before continuing here.
Custom Chocolate Mold DIY Part 2: What You Need
Before starting this custom chocolate mold diy part 2 build, gather the following materials:
- Acetate transparency sheets (medium gauge — thinner is easier to score and snap)
- T-square or L-square for scoring straight lines
- Hot glue gun and glue sticks
- Smooth-On SmoothSil 940 (two-part food-grade platinum silicone)
- Digital kitchen scale accurate to 1 g
- Plastic mixing cup and stir stick
- X-Acto knife with a fresh blade
- Paper towels and latex gloves
3D Printed Custom Chocolate Mold: Building the Acetate Box
The first step in making any 3d printed custom chocolate mold is building the containment box around your blank. Acetate sheets are ideal — they are food-safe, easy to score and snap, and the hot glue releases cleanly after curing. Here is the process:
- Place your sealed blank on a flat base piece of acetate. Mark a border 1–2 cm around each side — close enough to minimize wasted silicone, but wide enough to fit the wall pieces with glue.
- Score the wall pieces using your T-square. Run the scoring tool along the same line multiple times until the plastic is nearly cut through, then snap it over a table edge.
- Use a hot glue gun to assemble the four walls around the blank. Make sure the blank is glued flat to the base — any gap underneath will let silicone seep through.
- Let the glue fully set before pouring.
How to Make Chocolate Molds: Mixing SmoothSil 940
Here is how to make chocolate molds using SmoothSil 940. This platinum-cure silicone is food-grade rated — essential if you are making molds for anything you will eat. Never use tin-cure or non-food-grade silicone for edible projects.
SmoothSil 940 mixes at a 10:1 ratio by weight (100 parts Part A to 10 parts Part B). Use the free Smooth-On online calculator to determine how much you need — enter your mold box dimensions and blank size and it gives you the exact weight. For a 10×5 cm bar blank with standard box clearance, expect around 300 g Part A and 30 g Part B.
Weigh Part A into a plastic cup using a digital scale tared to zero. Add Part B separately, then mix thoroughly until the colour is completely uniform — no streaks. Part A is stiff and thick; keep mixing longer than you think you need to. Under-mixing will leave your silicone sticky or uncured in patches.
How to Make Custom Molds for Edibles: 3 Pouring Tips
Knowing how to make custom molds for edibles means getting the pour right. Air bubbles in the surface of the mold transfer directly to your chocolate. These 3 tips eliminate most of them:
- Pour from height. Raise the cup and let the silicone fall in a slow, thin stream into one corner of the box. The fall stretches and breaks bubble clusters before they get trapped in the mold surface.
- Avoid pouring directly onto the blank. Let the silicone rise up around and over the blank naturally from the corner — this fills all recessed detail without trapping air.
- Bounce the mold box. Once poured, pick up the mold and drop it firmly onto the table several times. Bubbles will rise and pop at the surface. Leave undisturbed at room temperature for the full 24-hour cure — do not freeze.
Homemade Edible Molds: Unmolding and Testing with Chocolate
After 24 hours, your homemade edible molds are ready to open. Pull back the acetate walls — the hot glue releases without needing tools. Trim any silicone overflow from the edges with a fresh X-Acto blade. Then gently peel and flex the silicone off the blank, working slowly around the detail areas.
To test your homemade edible molds with infused chocolate: melt candy melts or chocolate chips in a double boiler, stir in a measured amount of cannabis-infused coconut oil, and pour into the cavity. Refrigerate until fully set, then flex the mold to release. The finished bar should have clean detail from the blank. If there is minor surface tearing it is usually from unmolding too early — room-temperature curing gives the best release.
Frequently Asked Questions
What silicone is safe for a custom chocolate mold diy part 2 project?
How long does SmoothSil 940 take to cure?
Can I reuse the acetate box?
What can I make with homemade edible molds beyond chocolate?
References
Where to Buy
- Acrylic Plexiglass Sheet Cutter Scoring Knife Toolaffiliate
- Plexiglass Sheets (20 Pack Plexiglass Sheets 8"x10"Clear 1mm)affiliate
- Plexiglass Sheets (Acrylic Sheet Clear Cast Plexiglass 8” x 10” 2mm)affiliate
- X-Acto No 1 Precision Knife | Z-Seriesaffiliate
- L Framing Steel Squareaffiliate
- Gorilla Dual Temp Full-Size Hot Glue Gunaffiliate
- Gorilla Hot Glue Sticksaffiliate
- Deco Melts / Candy Meltsaffiliate
- POT by Noidsaffiliate5% with code herbistry420
- Cannabis Apparel Store
Some links above are affiliate links. We may earn a commission at no extra cost to you.
Related Posts
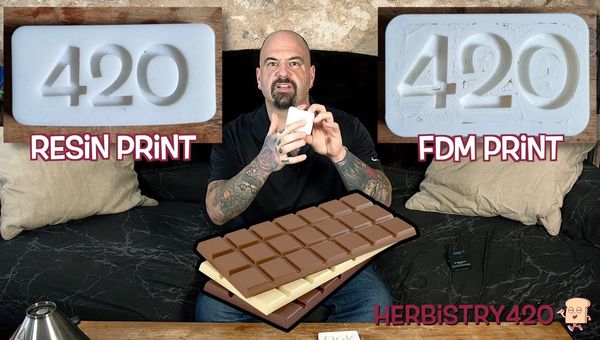
Custom Chocolate Mold DIY Part 1: Easy 3D Print Guide
Welcome to custom chocolate mold diy part 1 — the first episode in Fordee's multi-part series on how to make custom chocolate molds for cannabis edibles at home. This part covers everything before the silicone: modeling the blank in 3D software, printing it on a resin or FDM printer, and sealing it for the pour. ...
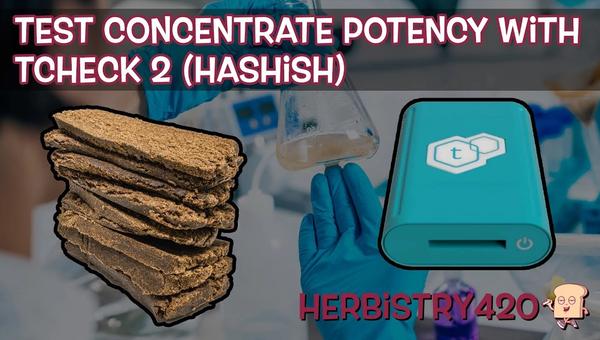
TCheck 2 Hashish Potency Test: 40% THC Result
This TCheck 2 hashish potency test shows exactly how Fordee measures his hashish THC percentage — and lands a 40% result. Knowing how to test hash potency at home is essential when you're using hash in edibles, because guessing your starting potency means unpredictable doses. The test uses the TCheck 2 Winterize Concentrate mode with ...

How to Use Cannabis Honey Pulp: 5 Easy Ways
After making cannabis-infused honey with the by:Noids or any infusion device, you end up with a sticky, fragrant leftover. Wondering how to use cannabis honey pulp instead of tossing it out? This guide covers 5 practical cannabis honey pulp usage ideas that squeeze every last drop of value from your infusion — from simple tea ...